If you are looking to paint the interior of your home, you have come to the right place! Whether you are a DIYer or looking to hire professional painters like us, this blog will provide you with 5 lifesaving tips to make your interior paint job come out as best as possible.
1. Prep Thoroughly
This may come as a surprise to some homeowners, but yes prepping the interior of your home prior to painting is just as important as prepping for the exterior. Luckily for you, here are the most important interior painting prep tips:
Wash The Walls & Ceilings

We recommend that interior walls and ceilings be wiped down with soap and water 24 hours before painting. Over time walls and ceilings accumulate dirt, grime, and grease which can interfere with the adhesion of the paint to the walls and ceilings. Also, most people don’t notice but there are usually cobwebs in the ceiling corners that accumulate over time that need to be removed prior to applying paint.
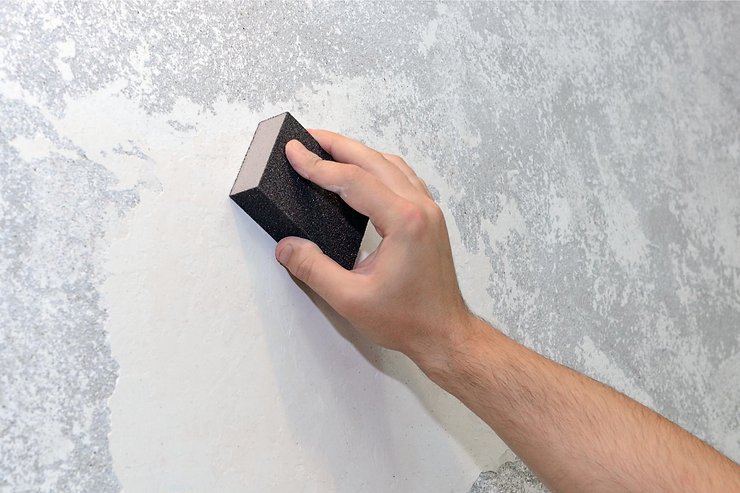
Sand and Fill Holes With Spackle
If your home was built pre-1978 you must let your painting professional know and you should make sure that they are licensed to properly and safely work with homes that may have lead paint. Luckily for you, if you hire us we have all of the certifications and experience to handle houses that may contain lead paint and there will be less stress for you, the homeowner.
Now that we have covered the most important thing to look out for; we can now talk about sanding and spackling. To ensure that your paint job comes out looking great, all of your wall fixtures should be removed (picture frames, wall art, wall shelving, etc). After that, any holes left behind from screws and nails need to be spackled. When it comes to sanding walls you want to make sure to use low grit sandpaper. This will allow you to smoothen out just the surface of the previous paint job without digging too deep.
Remove Light Switch and Wall Outlet Covers
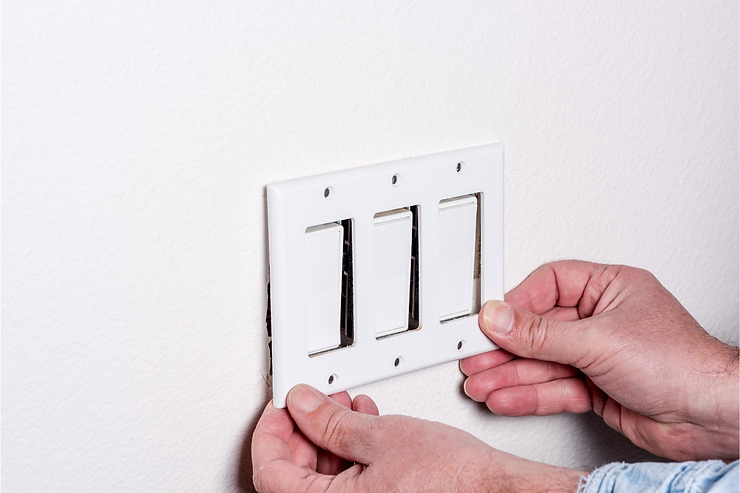
By removing your light switch and wall outlet covers, you will ensure a cleaner paint job. If you are worried about losing the screws for the covers, simply tape the screws to the cover that it belongs to.
2. Ceilings, Trim, Then Walls
Ceilings
There may be multiple opinions on this topic from online or other painters when it comes to the order in which you should paint a room. But, 9 times out of 10 we can all agree that the ceilings should be painted first. We recommend that the ceilings are painted first because there is the most room for error. If you are painting the ceilings and paint falls onto the walls or trim you won’t have to worry because you are going to paint those later.
Trim
We recommend painting the trim after the ceilings because it is much harder to cut trim than it is to cut a wall. By painting the trim before the walls the painter has a little more lenience when it comes to missing because if you over cut and some paint gets on to the wall, no worries because you can easily cover that up when painting the walls.
Walls
Walls will be last because the painter can then just cut the walls and roll them. Cutting the walls on the ceiling or next to the trim is the only place that the painter will have to be very careful. Our team of expert painters will make sure that the lines that are cut at the trim and ceiling are as straight as possible. If you are cutting the walls on your own, we recommend using some type of guide or painters tape that you can pick up from your local Sherwin Williams or Hardware Store.
3. Move Furniture To The Center and Cover

If you are painting a room with a lot of big furniture, moving it out of the room to paint is unnecessary. You can simply move all of the big pieces of furniture out of the way and into the middle of the room. We then recommend that you use a large canvas drop cloth to cover your furniture to prevent drops of paint from getting on it. We also recommend that the floor is covered with canvas drop cloths as well.
Our team of painters will make sure to cover up any flooring or belongings when painting the interior of your home. We always make sure to double-check before a paint can is even opened.
4. Finish One Wall Before Starting The Next
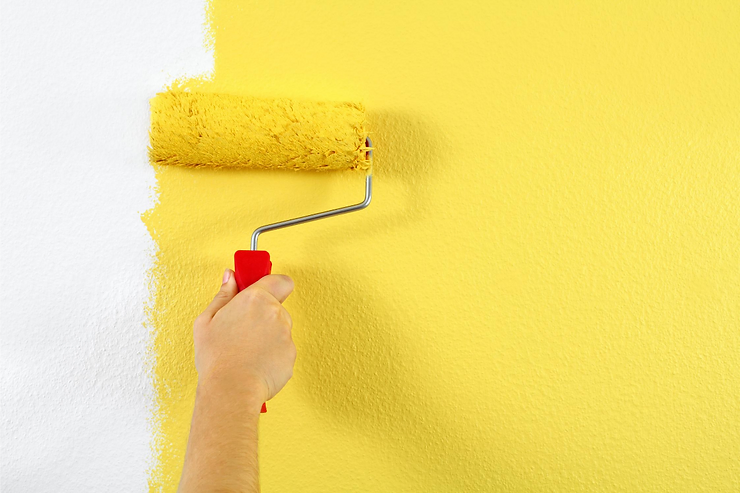
You are going to want to make sure that you or the painter you hire starts and finishes a wall completely before moving on to the next wall. We recommend this method because if you paint the wall halfway, and come back to paint the other half, there will be a line where the last half was painted. To avoid a paint line in the middle of your walls, simply paint the walls from left to right from one corner to the other.
Our team of experts will definitely know this method and will ensure that there are no unpleasant lines of paint in the middle of your walls.
5. Paint On Windows Can Be Scraped Off
If you or the painter you hire accidentally gets paint on the glass portion of your windows, do not panic and try to wipe it off quickly. Instead, you should wait until it dries and then scrape it off with a 5-in-1 tool. Paint cannot adhere to glass that well and will easily peel off once it is dry.
Our team at Zuck Painting is highly experienced and ready to take on your interior painting project. If you wanted to DIY your painting project we hope that these tips help. If you are looking to hire the experts, claim your FREE estimate today by giving us a call at (508) 250-7272 or schedule an appointment on our Contact Us page