Whether you are a DIYer looking for some advice or a homeowner that is looking to hire painting professionals to paint the exterior of your home, follow these tips in this blog to ensure that your exterior paint job comes out exactly the way you want it to.
1. Don’t Skimp On Prep
One of the most important things to focus on before painting the exterior of your home is taking the time to prep. As an inexperienced DIYer or homeowner, you may overlook the prepping process. Let us explain why this process is so important and how it sets up your project to be a success.
Washing/Pressure Washing
Any good prep job starts with some type of washing process 3 days to 1 week in advance. Usually, a pressure washer is used because it can cover a large area in a small amount of time. The high pressured water combined with an eco-friendly cleaning solution like Simple Green helps the painter clear off loose paint, dirt, mildew, mold, or other residues that can negatively affect the painting process.

We recommend that if you are using a pressure washer or hire someone to, make sure that the person using the machine is maintaining a safe distance away from the siding of your home and is washing your siding in the same direction of the grain of the wood. This way you can ensure that the siding of your house is not going to be damaged by the pressure washer.
Cover All Greenery & Pavement
Make sure you or the painter you hire is using drop cloths to protect your plants, flowers, greenery, driveway, and walkways from getting unwanted paint splatter. Painting can be unpredictable and you never know when paint is going to drip somewhere you don’t want it to be.

It is much easier to take the time to cover your grounds before starting to scrape, sand, or paint rather than going back to pick up or clean up the mess.
Scraping and Sanding
The next step in the prepping process is scraping and sanding. Make sure that you or the professional you hire is taking the time to scrape all of the loose, flaking, or peeling paint from your previous paint job.
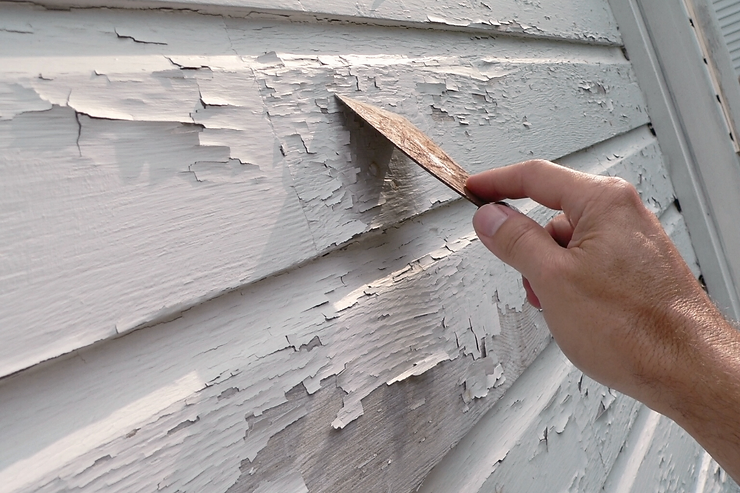
Once the scraping is done make sure you or the painter you hire thoroughly sands each spot that was scraped until the paint and bare wood spots feel flush or feather smooth. Failure to properly scrape and sand will result in a paint job that won’t last as long and won’t look as good.
We take pride here at Zuck Painting for our attention to detail during the prepping process. Our highly trained painting team follows the exact agenda written in the above paragraphs to ensure that the final product for the exterior of your home meets or exceeds your expectations. If you would like to schedule a FREE estimate in RI or MA visit our Contact Us page or call (508) 250-7272
2. Start From The Top Down
When starting the painting process it may seem easier to start on what you can reach from the ground and work your way up. However, this is not the best way to paint the exterior of your home.

Gravity is the key factor in the top-down method. Think about it, if you were to start on the bottom and work your way up to the top, paint dripping down from above will likely ruin the work you did on the bottom. If you were to start from the top-down then the paint that drips to the bottom would only hit siding that is prepped which is not a problem.
Start From The Shaded Side Of The House
You or the painter you hire should start on the shaded side of the house first. We recommend this because if wet paint is in contact with hot direct sunlight for too long, it may cause the paint to bubble while drying. Therefore, the paint is not going to adhere to the surface of the siding of your house as well as it should.
3. Caulking and Epoxy
During the prepping process, caulking gaps, cracks, windows, and door frames are going to be vital for the longevity of the siding and trim on your house. Make sure that you or the painter you hire is walking around the perimeter of your home to caulk all of the gaps where the siding doesn’t meet the trim or the cracks formed from the wear and tear over time.
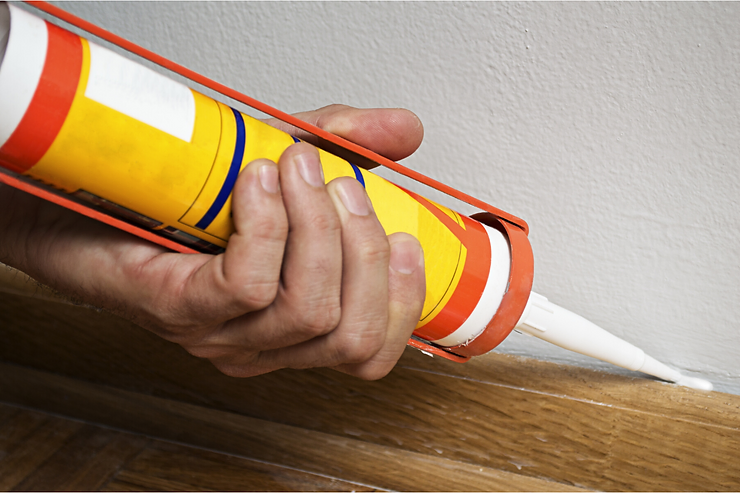
Caulking and or using epoxy is necessary prior to any paint job because it seals and protects water from getting underneath the trim or siding of your house. By not taking the time to caulk or epoxy those gaps, you run the risk of water seeping underneath your siding or trim causing wood rot.
4. Buy Quality Exterior Paint or Stain
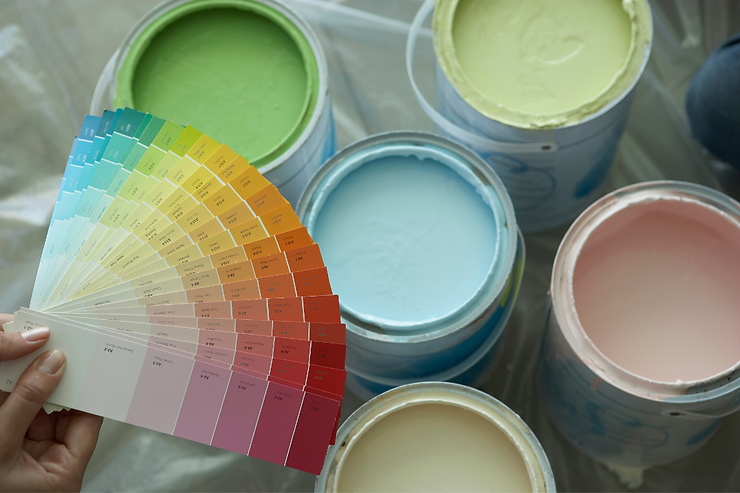
The brand and quality of the paint/stain that is used to cover the exterior of your house is much more important than one might think. Most popular brands of paint like Sherwin Williams, Benjamin Moore, and Behr have multiple different types of exterior paint. As a rule of thumb, you should not purchase the cheapest option just because it is the biggest bargain. Premium paints are more expensive because they contain premium ingredients such as higher quality pigment (denser color) or primer within the mix, just to name a couple. These premium ingredients along with others provide stronger and longer-lasting paint that will hold up well over the test of time.
If you were to hire painting professionals like us, feel free to ask about the kind of paint we recommend. Our highly trained team will educate you to help you choose the best option for your home.
5. Mix The Same Color Cans Of Paint
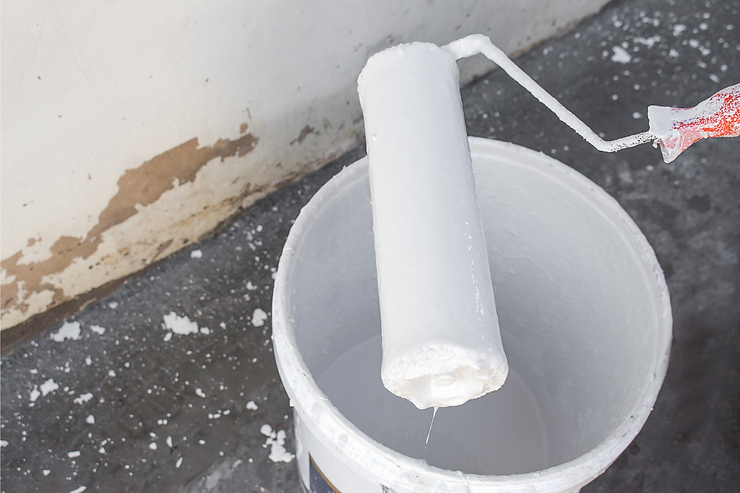
For most full house exterior jobs you are most likely going to be using multiple cans of paint to complete the job. We recommend that you should combine your cans of paint of the same color in a 5-gallon bucket for each painter or yourself to use from. Just because the paint is mixed in the store using a computer and machine doesn’t mean that it is perfect every time. By combining the cans of paint you ensure that there will be an even coat being applied to the siding of your home.
If you are looking to hire some professionals to paint the exterior of your home in RI or MA, give us a call at (508) 250-7272 or visit our Contact Us page to request a FREE estimate!